Insert and Manage Page Breaks in Excel
How to insert, remove, and manage page breaks in Excel. This can be rather annoying and confusing but this tutorial should clear up everything.
Page breaks are what you use to separate the worksheet into different pages when you go to print it. If you don't set them, Excel will use default page breaks set to the size of a printed page, and this almost never looks good.
Sections:
How to Manage Page Breaks, Including Changing Their Size
How to Insert a Page Break
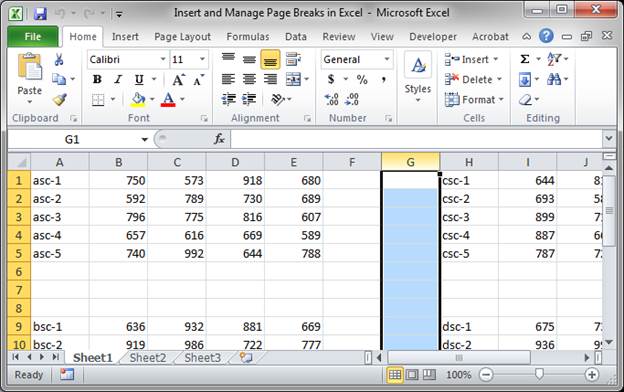
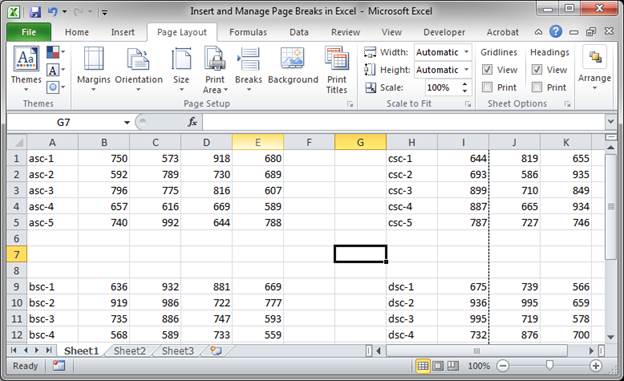
Insert a Vertical Page Break
- Select an entire Column that is just to the right of where you want the page break to be made.
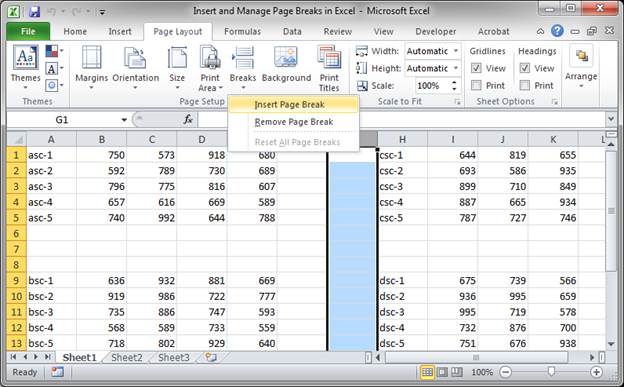
- Go to the Page Layout tab and click the Breaks button and click Insert Page Break.
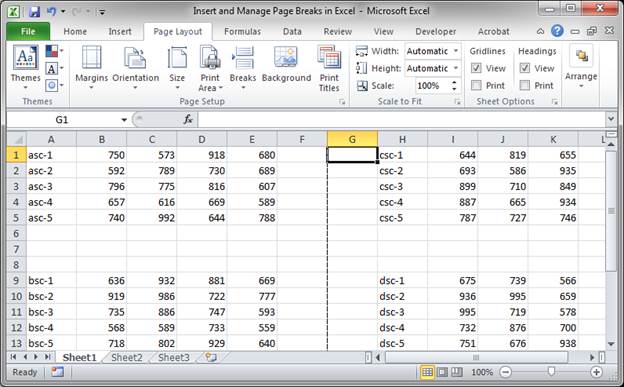
- Now, we have a page break that runs down the middle of our data set instead of cutting through it.
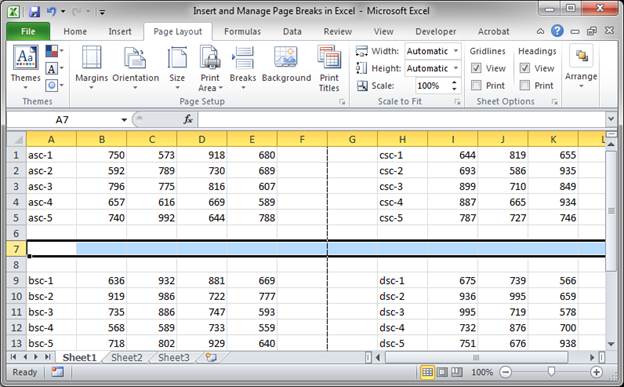
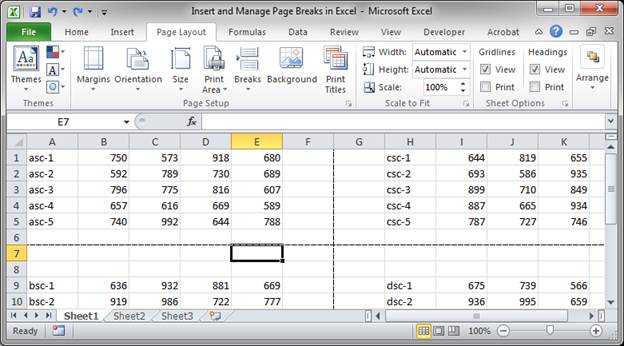
Insert a Horizontal Page Break
- Select an entire row that is just below where you want the page break to be made.
- Go to the Page Layout tab and click the Breaks button and click Insert Page Break.
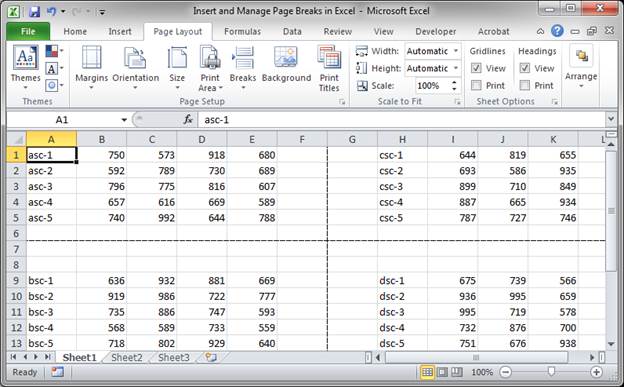
- Now we have a page break that runs across our data set, separating the data into nice even sections.
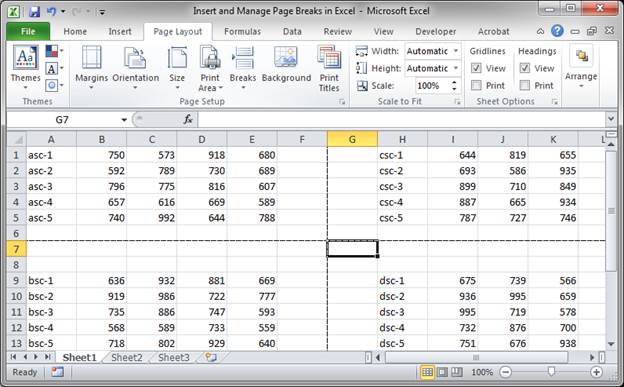
Insert a Horizontal and Vertical Page Break at the Same Time
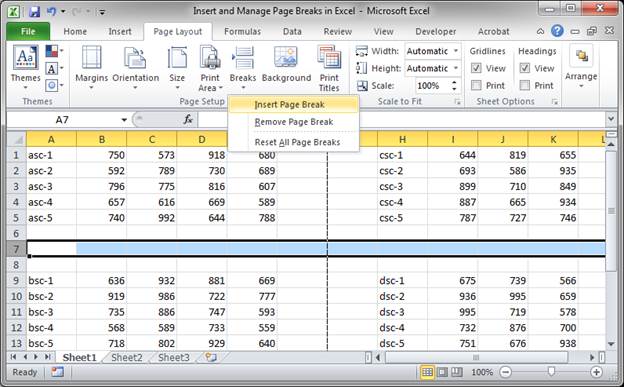
- Select the cell that is just below where you want the horizontal page break and just to the right of where you want the vertical page break.
- Go to the Page Layout tab and click the Breaks button and click Insert Page Break.
- Now we have created a horizontal and vertical page break at the same time.
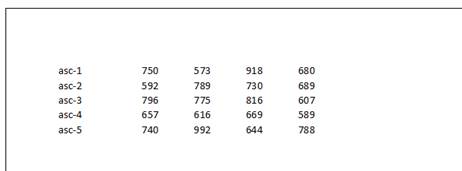
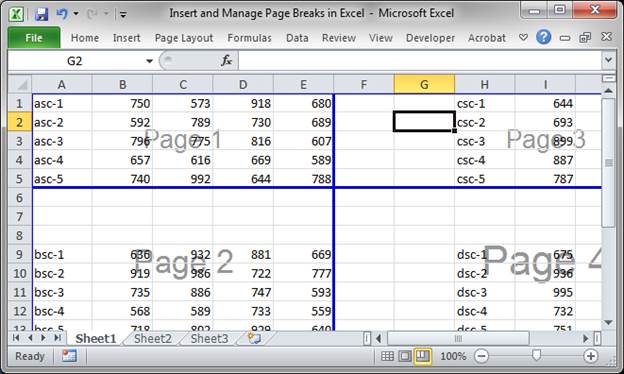
You can see how the data will be broken up when looking at a Print Preview:
Page 1
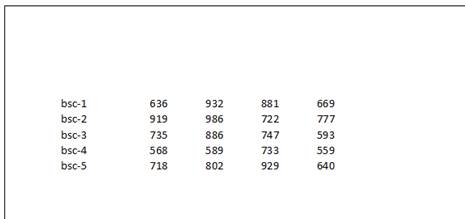
Page 2
Etc.
How to Remove a Page Break
Once you have created page breaks, you need to be able to remove them.
Remove All Page Breaks from a Page at Once
- Navigate to the desired worksheet, the one from which you want to remove the page breaks.
- Go to the Page Layout tab and click the Breaks button and then Reset All Page Breaks.
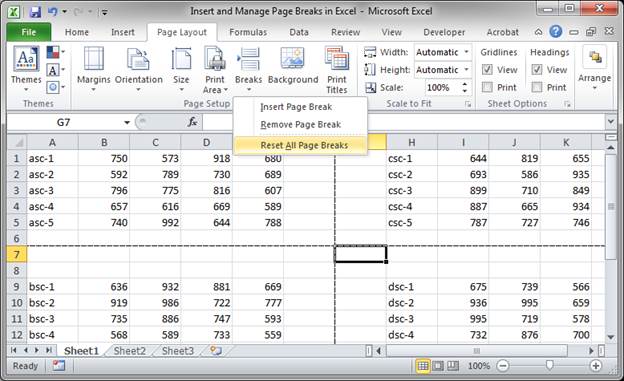
- That's it. But, notice that there is still a dotted line on the worksheet, indicating a page break. This means that Excel set the page breaks back to the default setting.
Remove a Vertical or Horizontal Page Break
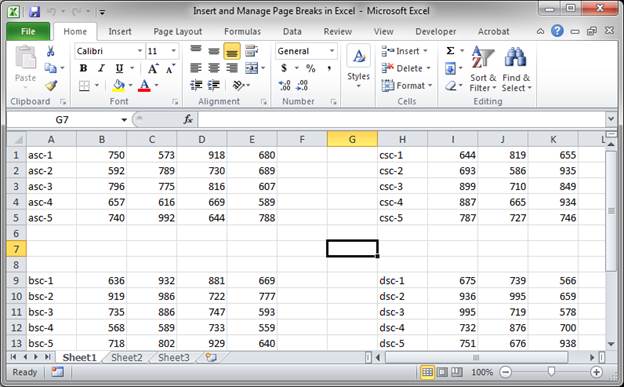
- Select a cell that is just under the page break to remove a horizontal page break OR
Select a cell that is just to the right of a page break to remove a vertical page break.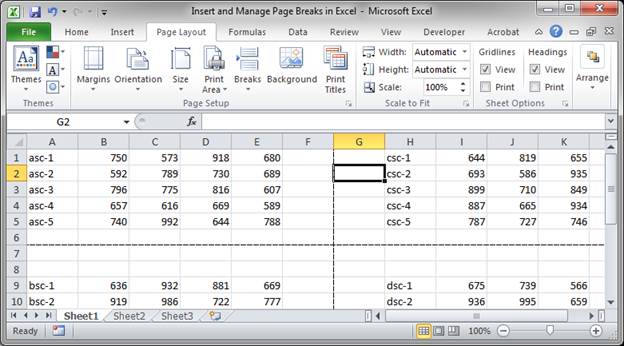
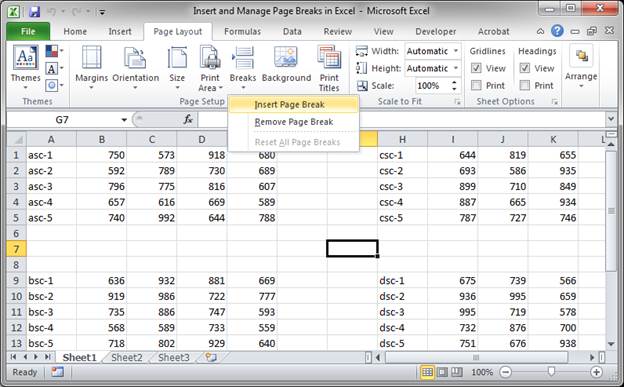
- Go to the Page Layout tab and click Breaks and select Remove Page Break
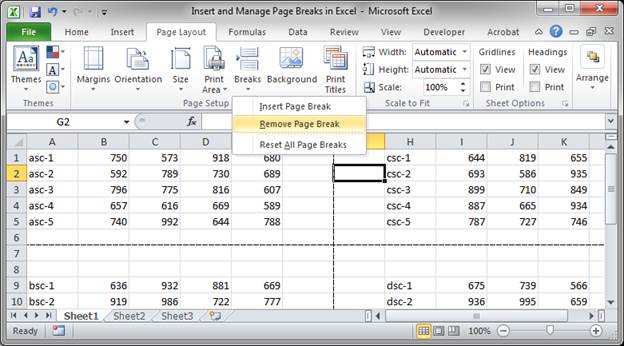
- That's it! This allows you to remove a single horizontal or single vertical page break without changing any other page breaks on the worksheet.
How to Manage Page Breaks, Including Changing Their Size
Page breaks can get confusing when you want to add more than just a couple or when you want to go to resize them. Thankfully, there is a special "view" in Excel that allows us to better manage them.
Go to the View tab and click Page Break Preview (to go back to the regular view, click the Normal button on the View tab)
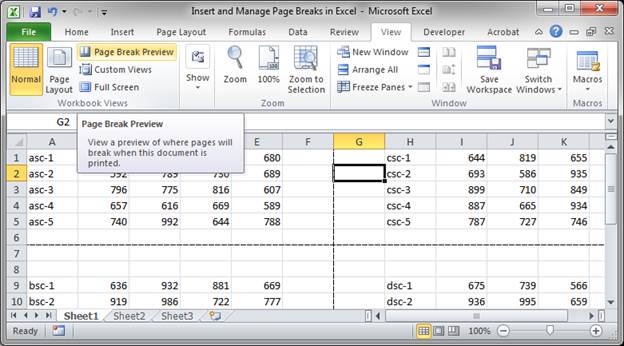
You will then get a view like this, assuming we kept the vertical and horizontal page breaks from the examples above:
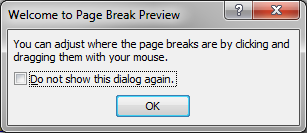
Note, you may see a dialogue box appear when you go to this view; it simply alerts you to the fact that you can manage page breaks here.
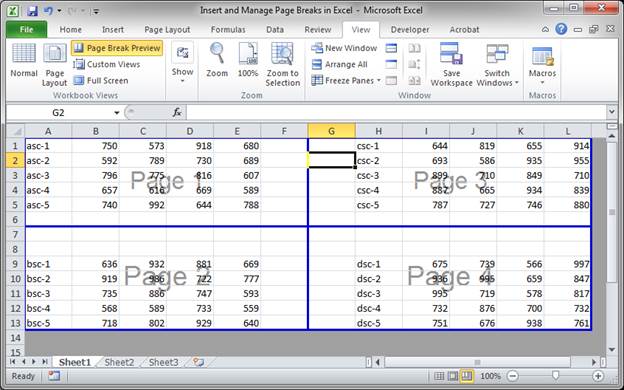
Understanding the View
This view has the sole purpose of helping you manage page breaks. As such, the page breaks are show as thick blue lines and only the data that will print is being displayed; notice that no extra cells, above row 13 or Column L, are displayed in the screenshot above.
Adding and Removing Page Breaks
In this view, you add and remove page breaks the same way that we did further up in this tutorial; nothing about that functionality changes.
Changing the Size of Page Breaks
This is really where this view comes in handy. You can resize any of the page breaks by clicking it and dragging it to a new place.
Hold your mouse over the page break until you see two arrows appear, then click it, hold the mouse button down, and drag it to a new location like this:
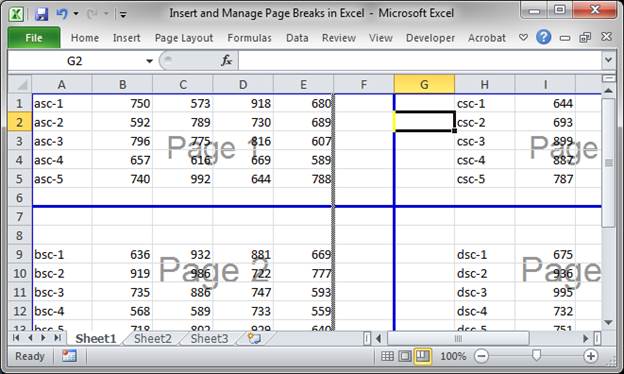
Here, I have made the page break so it perfectly fits the data for Page 1:
Note that even though it fits for Page 1, I have made it so Page 4 will look rather odd. It's important to remember that resizing page breaks is not the same as resizing columns. If you make one page smaller, another becomes larger by that same amount.
This view basically just helps you better see the page breaks and allows you to resize them.
Notes
Page breaks are one of those things that you can't live without when you need to print spreadsheets from Excel. The worksheet was just not made to print in a pretty format the same way that Word was made to do that. This means that we have to play around with the print settings quite a bit to get a nice looking document. Knowing how to add, remove, and manage page breaks goes a long way to creating better looking printed spreadsheets.
To get back to the regular view of Excel, just click the Normal button, located all the way on the left side of the View tab.
Remember that when you set a page break, if there are multiple pages that you want to print, perfectly fitting the breaks to just one set of data will make the other sets of data look bad when they are printed, usually by them having too much extra white space. This is why you will want to play around with page breaks in the Page Break Preview mode until you find a setup that works best for you.
Make sure to download the sample file that accompanies this tutorial so you can see how this works.
Question? Ask it in our Excel Forum
Excel VBA Course - From Beginner to Expert
200+ Video Lessons 50+ Hours of Instruction 200+ Excel Guides
Become a master of VBA and Macros in Excel and learn how to automate all of your tasks in Excel with this online course. (No VBA experience required.)
Tutorial: In this tutorial I am going to introduce you to creating and managing charts in Excel. Bef...
Macro: Return the highest number between two numbers that is in a range of cells with this UD...
Tutorial: In this tutorial I am going to cover the difference between Absolute and Relative Cell Ref...
Tutorial: Single simple formula to calculate the hours worked for a day shift or night shift and inc...
Tutorial: Ill show you how to use Excel to calculate the total time worked in a day minus lunch tim...
Tutorial: This is a full time-tracking system that allows you to track how much time someone has wo...
Subscribe for Weekly Tutorials
BONUS: subscribe now to download our Top Tutorials Ebook!
Excel VBA Course - From Beginner to Expert
200+ Video Lessons
50+ Hours of Video
200+ Excel Guides
Become a master of VBA and Macros in Excel and learn how to automate all of your tasks in Excel with this online course. (No VBA experience required.)