How to View, Arrange, or Hide All Shapes, Charts, Pictures, Etc. in Excel
In Excel, you can add shapes, images, objects, photos, and all sorts of items to the spreadsheet.
The problem is that sometimes these items can be hidden or can overlap each other such that you cant find them.
But, there is a really great tool that allows you to view all of the objects that you have in your worksheet, its called the Selection Pane.
Here is a sample worksheet with some objects in it (you can download this Excel file from the side menu and also below this tutorial):
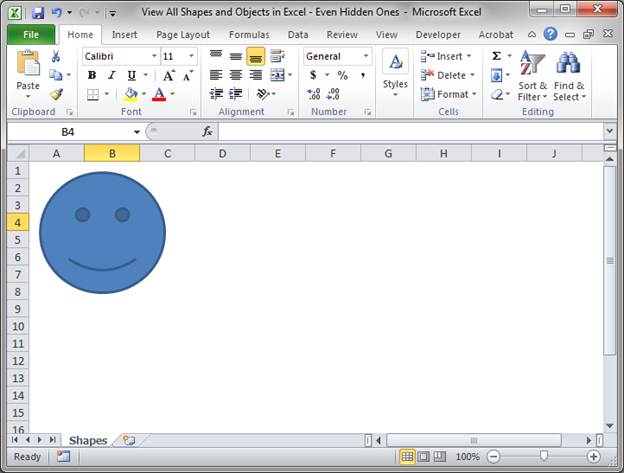
At this point, we can only see a smiley face, but, lets see if there is anything else in the worksheet.
To get to the Selection Pane, select any object in the worksheet, click the Format tab that will then appear, then select the Selection Pane button:
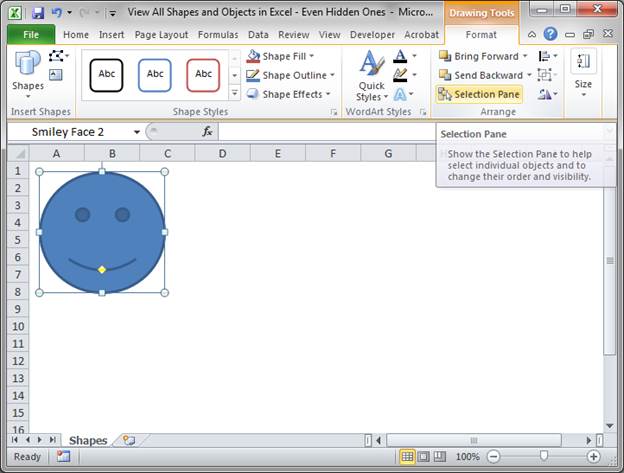
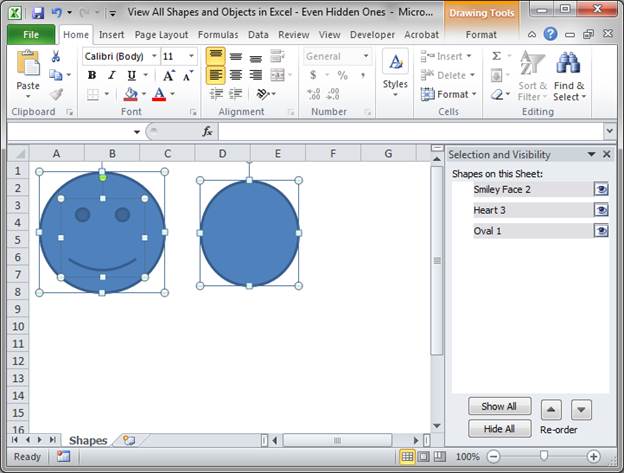
Once you click Selection Pane, you will see this:
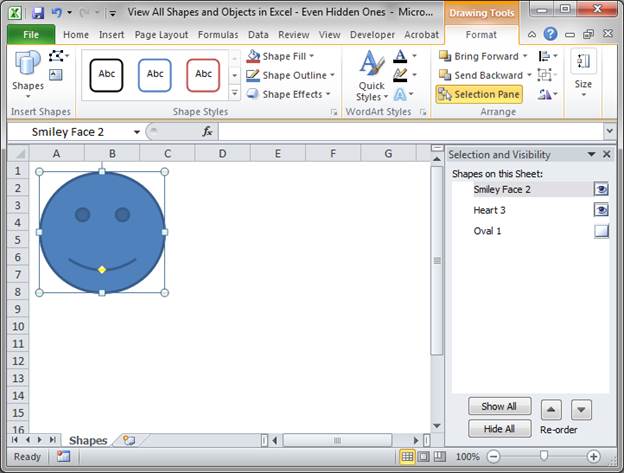
Now, we can see that there are actually three shapes on the sheet. One is a smiley face, one a heart, and one is an oval these are the default names for these objects but they could have been renamed to anything.
The first thing to notice is that there is no eye image next to the shape titled Oval 1 and this means that it is hidden. Simply click the white button where the eye should be to see it in the sheet:
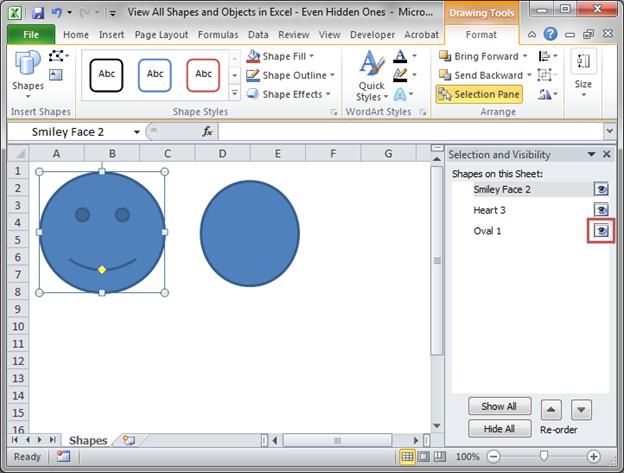
You can also click the button Show All at the bottom of the Selection Pane window to quickly make all shapes and objects visible or Hide All to hide all of them.
However, as you may have seen, there are three items on the worksheet but we can only see two of them. This happens when an object is on top of another one. To see if that is the case here, simply select the items in the Selection Pane and see where the outline for it appears on the worksheet.
Tip: if you select a single item in the Selection Pane and then hit Ctrl+A, it will select all items at once so you can see them.
Here, it looks like there is something inside of the smiley face. To see if that is true, you can do one of two things:
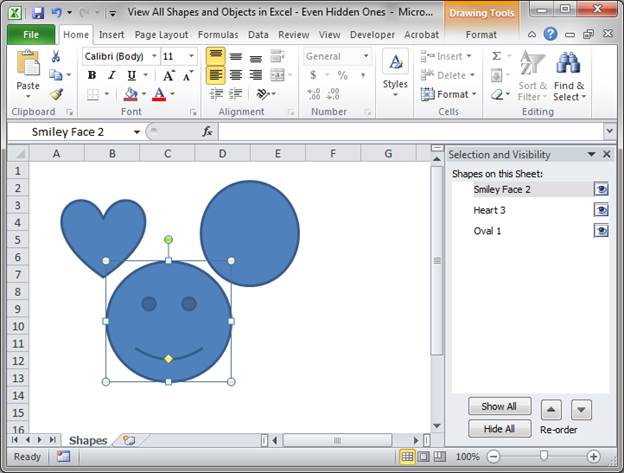
Click the smiley face with the mouse and drag it away:
Or, select the smiley face shape from the Selection Pane and then hit the down arrow at the bottom of the Selection Pane until an object appears on top of the smiley face:
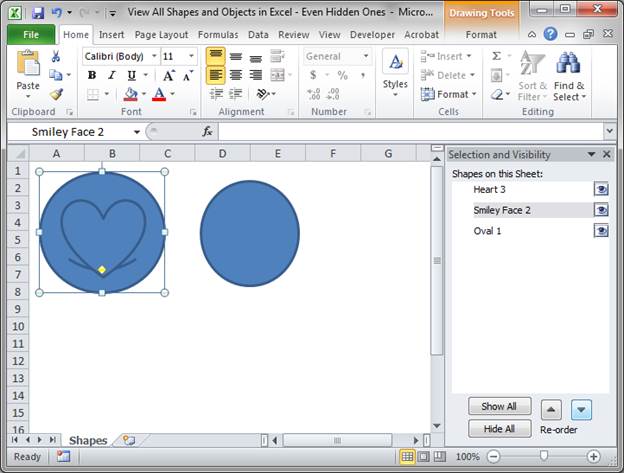
Both ways let you see the object that is under the smiley face.
I recommend using the second method since objects are often strategically placed within a worksheet and you dont wat to mess-up the placement of them. However, hitting Ctrl+Z will undo any changes in case you mess-up anything.
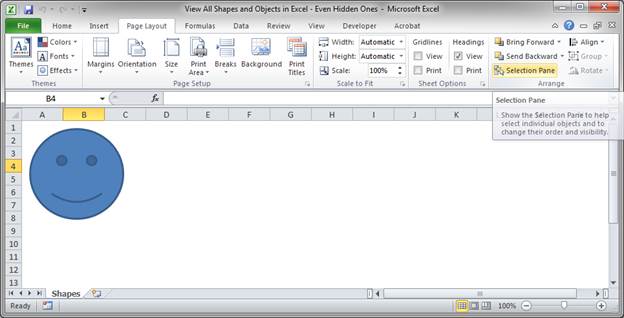
If there are no visible shapes or objects in the worksheet but you know that some are there and you want to see them, you can still access the Selection Pane, just go to the Page Layout tab and click the Selection Pane button, which is located in the Arrange group of icons.
I hope this was a helpful tutorial! If you liked it, dont forget to share it and let people know about it!
Question? Ask it in our Excel Forum
Excel VBA Course - From Beginner to Expert
200+ Video Lessons 50+ Hours of Instruction 200+ Excel Guides
Become a master of VBA and Macros in Excel and learn how to automate all of your tasks in Excel with this online course. (No VBA experience required.)
Tutorial: The Selection Pane is a very useful tool in Excel that allows you to view all of the objec...
Tutorial: This is how you prevent a chart from appearing when you print from Excel. This is a gre...
Macro: This free Excel macro filters data to display the bottom X percent of the data set in Exce...
Macro: This Excel macro filters a set of data in Excel to display only the top 10 percent of that...
Macro: This free Excel macro filters a data set to display the bottom 10 percent of the data set ...
Tutorial: (New Easier Version for Excel 2010 and Later) How to increment a value, number, percent, e...
Subscribe for Weekly Tutorials
BONUS: subscribe now to download our Top Tutorials Ebook!
Excel VBA Course - From Beginner to Expert
200+ Video Lessons
50+ Hours of Video
200+ Excel Guides
Become a master of VBA and Macros in Excel and learn how to automate all of your tasks in Excel with this online course. (No VBA experience required.)