
")
Subscribe for Weekly Tutorials
BONUS: subscribe now to download our Top Tutorials Ebook!
How to import Text Files (CSV) into Excel
Text files in CSV format are one of the easiest ways to store and transfer data as it is one of the most compatible files to use. Even a basic text editor such as Notepad can understand them, although this is not recommended when you have 1,000s or even 10,000s of lines of text stored as it gets a bit confusing to read/navigate, and this is why you want to use Excel.
CSV stands for Comma Separated Values and is a text file with a structure much like a table. Each column of the table is separated by a comma and each row is separated by a new line.
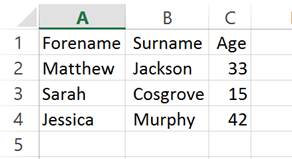
In the last tutorial I had a list of forenames, surnames and ages. I now have this information in a CSV:
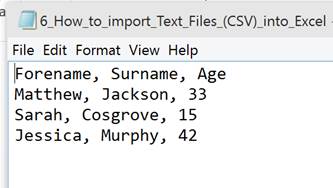
Even looking at this CSV in Notepad you can see a table. It is this feature of CSVs that allows Excel to easily import them. To import a CSV you first select the DATA tab then left click From Text in the first panel. (Highlighted below)

The following window should appear:
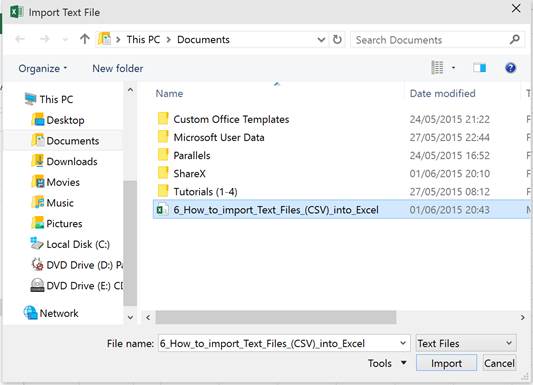
You just navigate to the CSV file you wish to import, select it and then click the Import button. A 3-step wizard will then open to help you import your text file correctly:
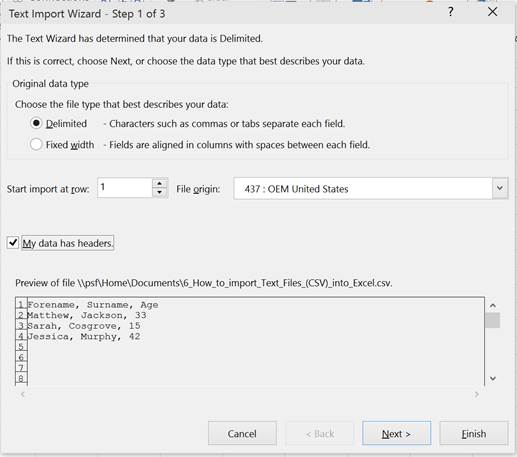
Step 1 has a number of options but most of these you will never change. The only thing to note here is if your data has column headings you will have to check the My data has headers checkbox. My CSV has column headings so I have this selected. You then click next.
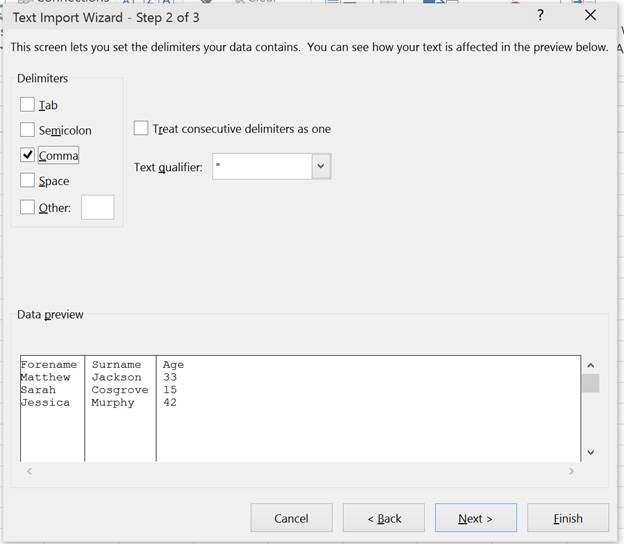
Step 2 then appears as above. All you need to select here is Comma as your delimiter then click next. All the other options here are for files which are separated in various forms other than commas and you select those options if you need to.
The Data preview window shows you what your data will look like with the selected delimiter so, if it doesnt look right, select another one until it does and then hit the Next button.

The third and final step allows you to select the data format of each of your columns. General format is selected for each column by default and will do most of the work here for you by converting numbers and dates where it deems appropriate. All remaining values are then just changed to text. You shouldnt need to change this very often unless you are importing data which Excel doesnt understand. This could be odd date formats or importing numbers that are too large for Excel which are better stored as text (e.g. long Order Numbers which have more than 15 digits).
After you click finish you must select where you want the new data to be placed in excel.
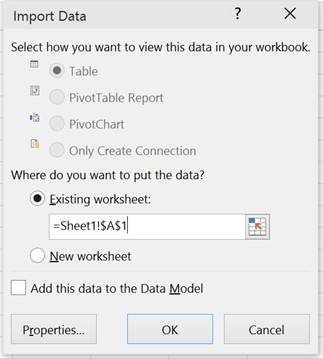
Table is the only option I have here as it is such a small CSV. Larger files will have more options for PivotTables and PivotCharts but using these will be covered later.
You can choose a new or existing worksheet by selecting the option then typing in the cell reference or alternatively you can click the box with an arrow to select the cell with the mouse. The data will then fill in to the right and downwards from your selection.
I could have also clicked Finish on the first step and got the exact same result. Excel would have been able to automatically detect the structure and format of my simple CSV. You dont need to use the full wizard unless something isnt importing correctly.