Delete All Empty Rows or Blank Cells from a Range in Excel
How to quickly delete all empty cells or rows from a range in Excel.
This allows you to quickly clean your data to remove worthless blank sections that only serve to annoy you and break other features in Excel, like using the quick-fill handle to copy formulas down a column.
Steps to Remove Blank Cells or Rows from a Range in Excel
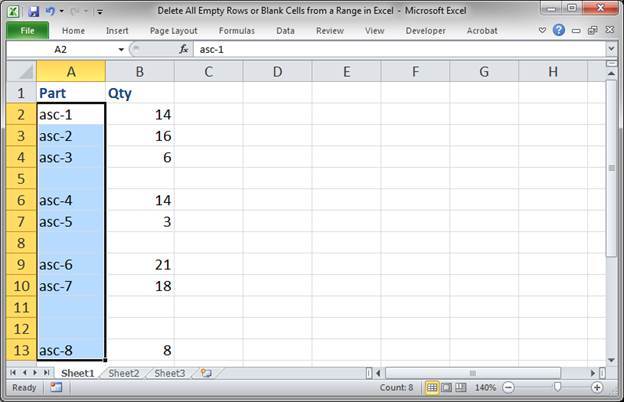
- Select the column or row that contains the blank cells. You do not need to select the entire data range or worksheet.
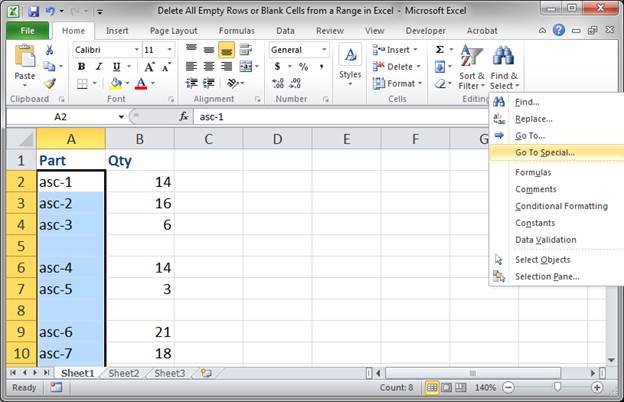
- Go to the Home tab, then Find & Select and then Go To Special... (If you are in Excel 2003, hit Ctrl + G and then Alt + S [or just click the Special... button after you hit Ctrl + G])
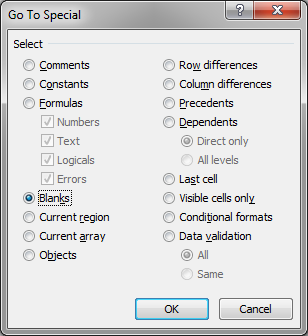
- Select Blanks and then hit OK.
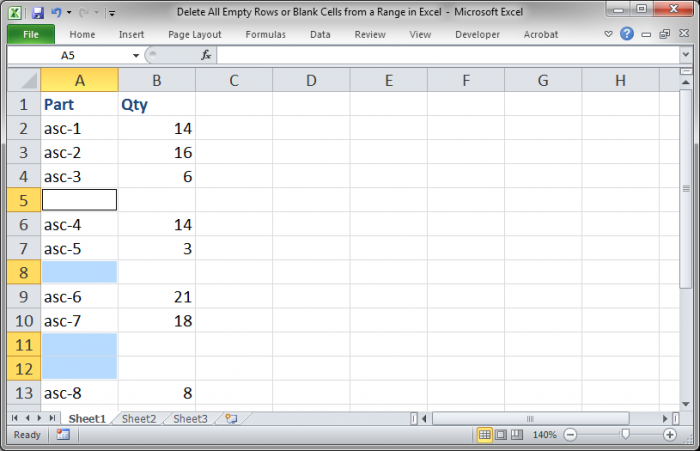
- Now, only the blanks from the range that you selected will be highlighted:
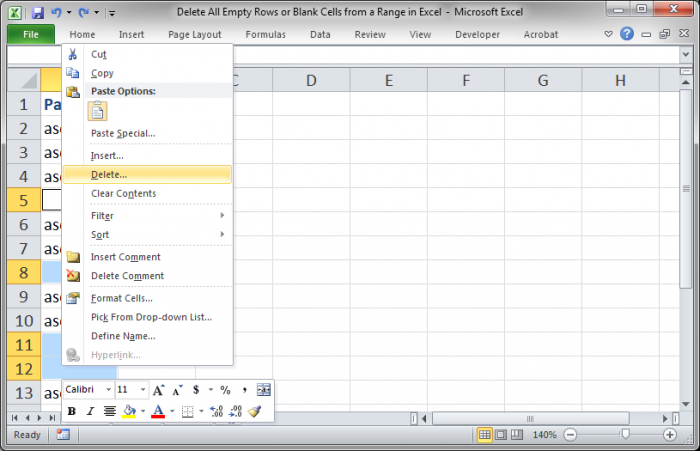
- Right-click one of the selected cells and then click Delete.
- In the window that opens, select either Shift cells up or Entire row.
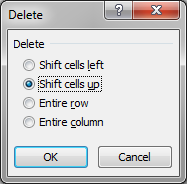
Shifting cells up will just remove the blanks from the range that you selected. This works well if you have a data table on one side of the worksheet and other data on the other side and you don't want to mess-up the other data; in this case, you would select the entire data table that contained blanks before going to "Go To Special" instead of just selecting a single column.
Entire row will remove the entire row from the worksheet, regardless of what is off to the right or left of the range that you selected.
The other two options work the same way but for removing columns instead of rows. - In this case, I will select Entire row and then hit OK. Here is the result:

Now, we have a nice, neat, and organized set of data that does not contain any blanks or empty cells or rows.
Notes
If you have a lot of data all over your spreadsheet, including to the right or left of the data that has blank rows, and you don't want to interfere with the other data, simply select the entire data set from which you want to remove rows before going to select the blanks and then delete them. In this case, select the "Shift cells up" feature from the Delete window. If you accidentally mess-up adjacent data in the spreadsheet, just hit Ctrl + Z to undo the mistake.
This is a simple but powerful method for cleaning large sets of data quickly and it will save you a lot of time.
Make sure to download the accompanying spreadsheet so you can try this out in Excel.
Question? Ask it in our Excel Forum
Excel VBA Course - From Beginner to Expert
200+ Video Lessons 50+ Hours of Instruction 200+ Excel Guides
Become a master of VBA and Macros in Excel and learn how to automate all of your tasks in Excel with this online course. (No VBA experience required.)
Tutorial: Formulas that allow you to quickly and easily remove the first or last character from a ce...
Tutorial: Formulas that you can use to get the value of the last non-empty cell in a range in Excel...
Macro: Remove all data validation from a cell in Excel with this free Excel macro. This is a grea...
Tutorial: Excel formula to delete the first or last word from a cell. You can copy and paste the fo...
Tutorial: How to use a formula to get the first word from a cell in Excel. This works for a single c...
Tutorial: I'll show you how to require a user to enter a unique number into a range of cells in Exce...
Subscribe for Weekly Tutorials
BONUS: subscribe now to download our Top Tutorials Ebook!
Excel VBA Course - From Beginner to Expert
200+ Video Lessons
50+ Hours of Video
200+ Excel Guides
Become a master of VBA and Macros in Excel and learn how to automate all of your tasks in Excel with this online course. (No VBA experience required.)