Create UserForm Control Templates
How to create a UserForm Controls template that will allow you to quickly add pre-formatted buttons, input areas, check boxes, and any other control into a UserForm, as well as groups of controls.
This saves you a lot of time by being able to store commonly used elements and groups of elements within the UserForm Toolbox so that you can quickly drag-and-drop the controls into the form and have them already formatted and positioned correctly.
(This tutorial assumes that you have a general understanding of UserForms, if not, view our course on UserForms in Excel to learn more.)
Sections:
Create a UserForm Controls Template
Organize Templates in their Own Section in the Toolbox
Save Groups of Controls Together
Change Template Button Image and Name
Delete Template Button or Template Section
Create a UserForm Controls Template
This works for any control in the Toolbox for forms.
Short form of the following steps: Create controls > drag to Toolbox.
- Create the buttons or controls or layout on an actual form. You have to create the form and controls first before you can save the template.
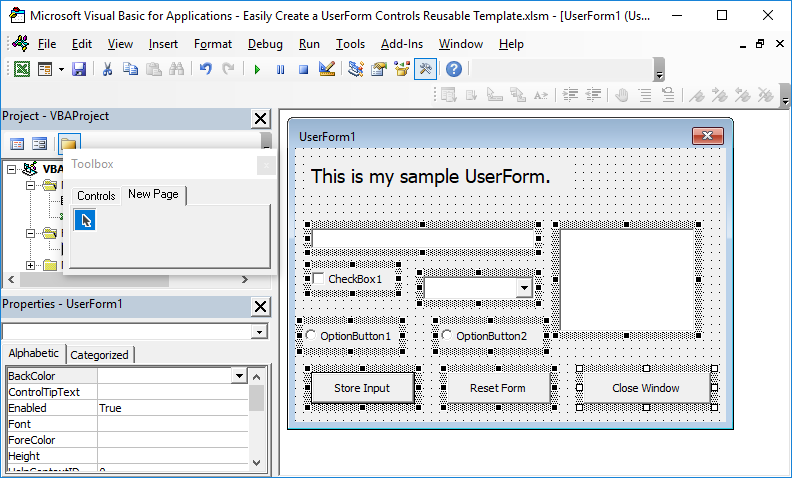
Here is our sample form: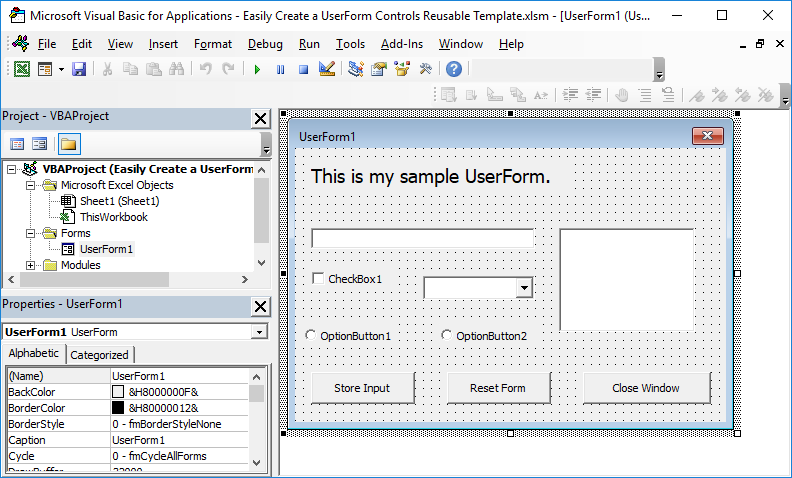
- Format the controls exactly as you want them to appear. Change the Caption or display text, the font size and appearance; change all elements that you want to save. If you change the Name of the button, what you use to reference it in VBA, that will also be saved with the template; basically everything from the Properties window will be saved. (no vba code will be saved in the template)
- If you want to save a group of elements, make sure you have the spacing and layout correct.
- Make sure the Toolbox is visible. If you don't see it, click the form and go to View > Toolbox
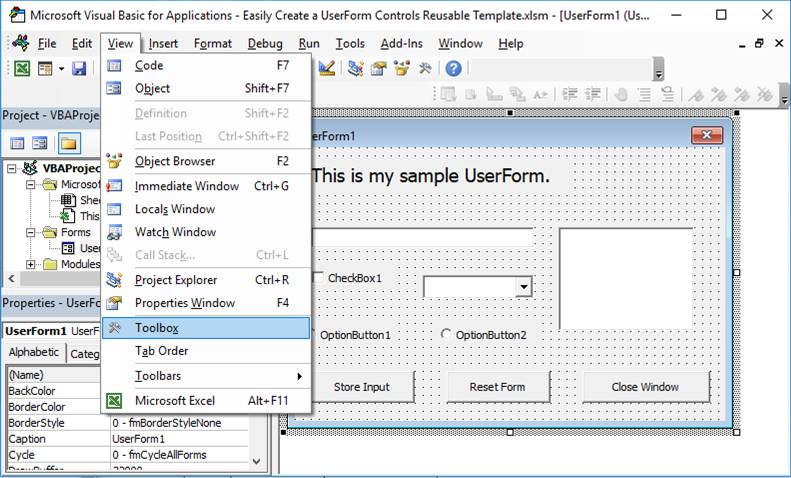
You should now see the toolbox: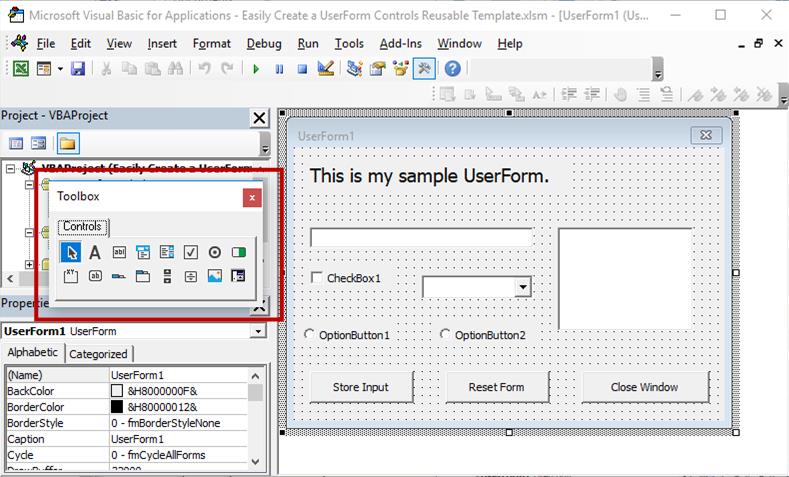
- Left-click the desired button on the UserForm and hold it down while you drag it to the Toolbox.
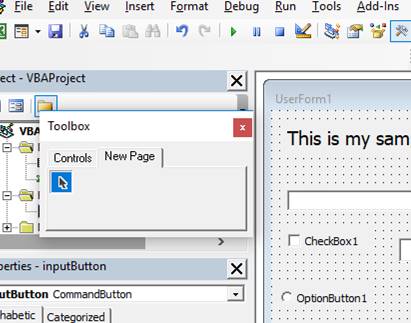
- You should now have a new item appear that is the new template for your control.

- You can now drag this control onto the UserForm and it will automatically have all of the settings and properties that you attached to it before you dragged it into the Toolbox.
Note these changes will automatically save to Excel, at least in later versions, so that you can use them in any project going forward.
This will not save any VBA code that you may have associated with the controls, only the settings changed in the Properties window will be saved.
You can also save groups of controls and arrange them on their own tab; look to the next sections for this.
Organize Templates in their Own Section in the Toolbox
In the above example, the template is placed in the same section as the default controls, but we can make a new tab and store them there as well.
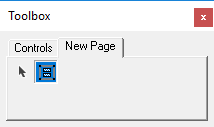
Right-click the Controls tab and click New Page
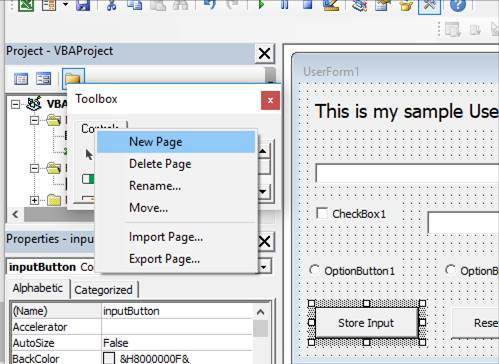
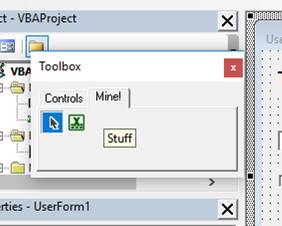
Now, you will see a new tab in the Toolbox:
You can drag and drop controls just like you did on the default tab and everything will be saved as usual.
Save Groups of Controls Together
You can save multiple controls together and this will not only save the controls and their settings, but their spacing from each other; this is what really allows you to quickly build UserForms that have similar reusable sections.
Organize all controls as you want and then hold down the left mouse button and drag it over all of the controls that you want to save and release.
Then, you'll have multiple controls selected like this:
Now, click one of the controls and drag it over to the Toolbox and release.
You'll see a new button appear and that is your new template button for all of the controls that you just selected.
This is maybe one of my favorite little features in Excel because it will save you so much time!
In this example, I saved all of the controls except the title, but, a better example is to, perhaps, save the buttons at the bottom of the form that you might use in all of your forms, such as the OK and Cancel buttons. This way, when creating a new form, you just use the template from the Toolbox and have the buttons along with their formatting and spacing and names all correctly input instead of having to do it all by hand.
Change Template Button Image and Name
You can easily change the template button information so that it is more useful.
Right-click the template button in the Toolbox and click Customize New Group
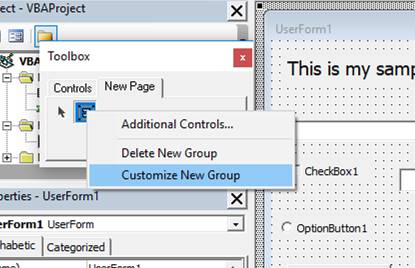
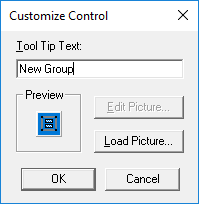
From this window, you change the text that appears when you hover over the control in the Toolbox and also the image that appears for the button.
For images, you can use small images that you find on your computer, Excel doesn't automatically give you thousands of cool image options, unfortunately.
Note if you saved a single control, it will take the default name and image of that control type along with New in front of the name. So, the commandbutton saved in the first example, looks like a commandbutton in the Toolbox and is called New CommandButton. Of course, you can rename it and change its image as you like.
Change Section Tab Name
Righ-click the tab and click Rename...
Then, you'll see a window like this:
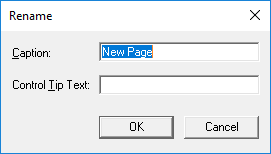
Rename it:
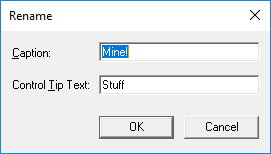
Hit OK and view result
Delete Template Button or Template Section
Right-click template button and click the option with Delete in front of it.
Right-click the new tab and click the option with Delete in front of it.
Notes
This is a fun example of how you can make the creation of UserForms in Excel much easier and faster and with more continuity.
Download the sample file for this tutorial to work with the form used in the above examples.
Question? Ask it in our Excel Forum
Excel VBA Course - From Beginner to Expert
200+ Video Lessons 50+ Hours of Instruction 200+ Excel Guides
Become a master of VBA and Macros in Excel and learn how to automate all of your tasks in Excel with this online course. (No VBA experience required.)
Tutorial: This tutorial gives you an overview of what a UserForm Control is and how to add them to y...
Tutorial: Explanation of Events for Controls in UserForms in Excel. This includes what they are, how...
Tutorial: This is a listing of all properties for the UserForm in Excel. Each property includes an e...
Tutorial: Explanation of UserForm Events in Excel. This includes what they are, how to use them, and...
Tutorial: How to loop through all controls in a UserForm; this allows you to do things like get valu...
Tutorial: Overview of Control properties in UserForms; this includes what they are, how to change th...
Subscribe for Weekly Tutorials
BONUS: subscribe now to download our Top Tutorials Ebook!
Excel VBA Course - From Beginner to Expert
200+ Video Lessons
50+ Hours of Video
200+ Excel Guides
Become a master of VBA and Macros in Excel and learn how to automate all of your tasks in Excel with this online course. (No VBA experience required.)